If you have Windows laptop (or any laptop or PC that is x86/AMD), you can make a USB Flash Drive to get a fully featured RTL-SDR CubeSatSim Ground Station without having to install anything.
Note that this doesn't change anything on Windows or install anything on your hard drive - once you restart and unplug the flash drive, your computer goes back to exactly as it was!
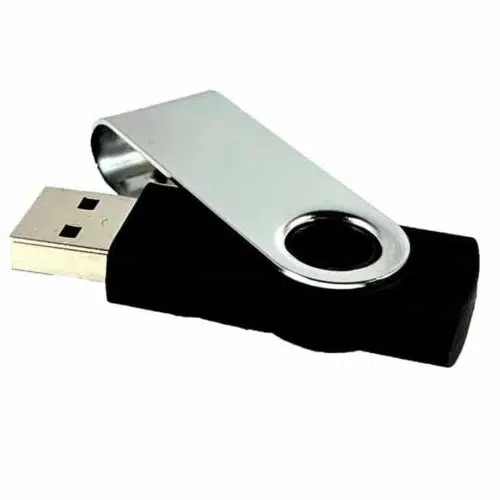

Just download the disk image file and write it to a 32 GB or larger USB Flash Drive.
When you follow the steps below, your laptop will use the Flash Drive and you will have the full set of ground station software features available on the Raspberry Pi as the Fox-in-a-Box!
The username is pi and password is raspberry for this image so it is identical to the Fox-in-a-Box image.
Note that you will need two USB connectors on your computer (or a USB hub): one for the flash drive, the other for the RTL-SDR radio dongle. Also the RTL-SDR dongle is wider than a USB connector, so if your two USB ports are side-by-side, you might need an extender cable such as this https://www.amazon.com/gp/product/B00NH136GE?th=1
Here are the exact steps.
1. Create the USB Flash Drive using BalenaEtcher.
You can either download the disk image and write it, or you can write it without downloading. The URL for the image is
https://CubeSatSim.org/download/flash-drive-groundstation.iso.zip
The file is about 8GB. You don't need to unzip it to its full size of 16 GB.
You can download BalenaEtcher here https://etcher.balena.io
Run BalenaEtcher, select the URL or the downloaded ZIP file, select your USB flash drive then select Flash!

It will take 15-20 minutes to write it.
Your Ground Station Flash Drive is now ready!
2. Configure Windows to use the Flash Drive
You need to tell Windows to use the Flash Drive instead of starting Windows normally. The easiest way to do this is to go to Settings and select System. Then select Recovery.

Then, with the Flash Drive plugged into your computer, select Restart Now

Select Restart Now again

3. Select the Flash Drive
If you followed Step 2 with the Flash Drive plugged in, you next need to select it.
The menu will ask you to Choose An Option. Use the cursor keys to select Use A Device.

Then use the cursor keys to select USB Storage (IMPORTANT: If there is an option that says "Ubuntu" DO NOT SELECT IT - if you do, it will use a different Ubuntu installation, not the Flash Drive)

Then select your Flash Drive in the list (the easiest way is to notice the size of the drive in GB).
After a few seconds, you will see the Ubuntu boot menu which is mainly a black screen with this in the top left:

You don't need to select anything in this menu. After 5 seconds Ubuntu will boot and you will see the AMSAT desktop and FoxTelem will run.
Make sure your RTL-SDR is plugged in!
When you restart or shutdown and startup with the flash drive still plugged in, the ground station will load.
You won't need to login, but the username is pi and password is raspberry for this image so it is identical to the Fox-in-a-Box image.
To switch back to Windows, follow the steps in the next section.
4. Go Back to Windows
To go back to Windows, just shutdown then remove the Flash Drive.
Select the menu in the top right corner of the screen

Select the power button icon then select Power Off

Unplug the Flash Drive.
Next time you power up, Windows will run normally.
To go back to the Ground Station software, repeat Step 2.
5. Using the Ground Station Software
You can run the same software as in the FIABv4 Beta image (except for the FUNcube Telem which hasn't been installed yet).